 日本語
日本語 English
As design techniques advance, such optical elements as lenses and prisms continue to evolve, shifting from spherical surfaces to aspherical surfaces, and from axial symmetry curved surfaces to free-curved surfaces. When an optical element requires processing with nanometer-order accuracy*4 and has free-curved surfaces with large changes in curvature*5, we use processing and measuring machines developed by Canon Inc.
The free-curved surface processing machine needs to use such parts as high rigidity air bearings and high-performance controllers to precisely control the position of the cutting edge, which moves at high speed. This machine has been developed by Canon Inc.
The free-curved surface measuring machine measures the entire surface with extremely high accuracy while moving the tip of a probe around the surface of an optical element. It uses such devices as a metrology box with a unique box-shaped structure and a laser interferometer comprising a work guide sandwiched between six mirrors to reduce contact-probe motion errors and achieve measurement with nanometer-order accuracy.
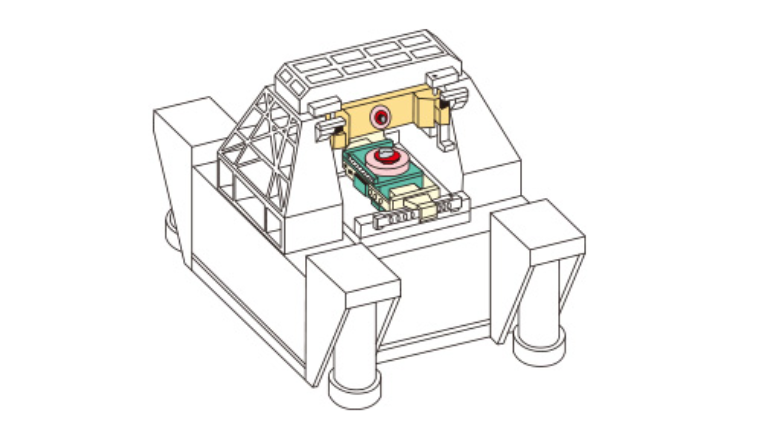
Free-curved surface processing machine (A-Former)
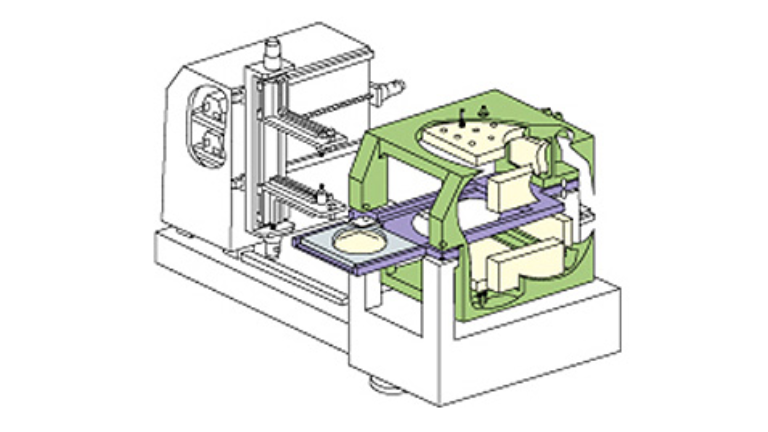
Free-curved surface measuring machine (A-Ruler)
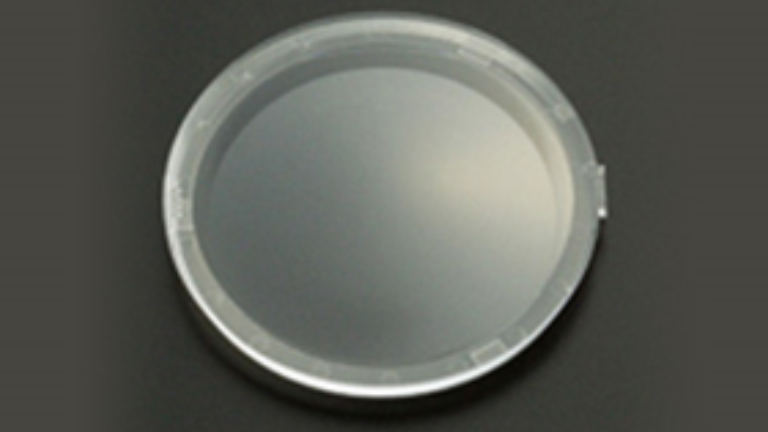
Large aperture lens (for projectors)
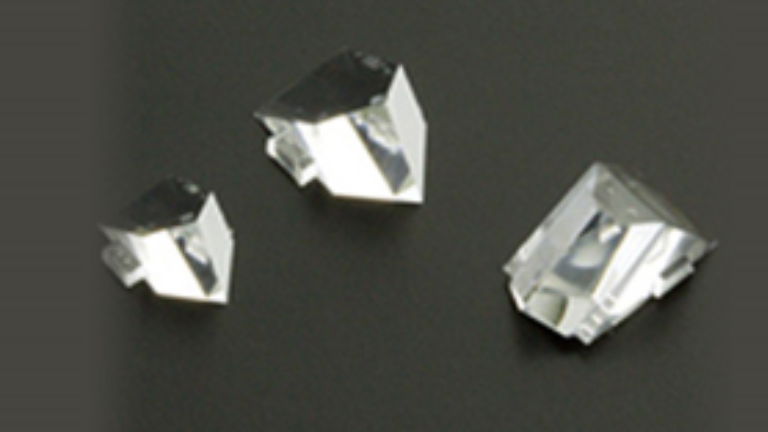
Roof pentaprism (for digital cameras)
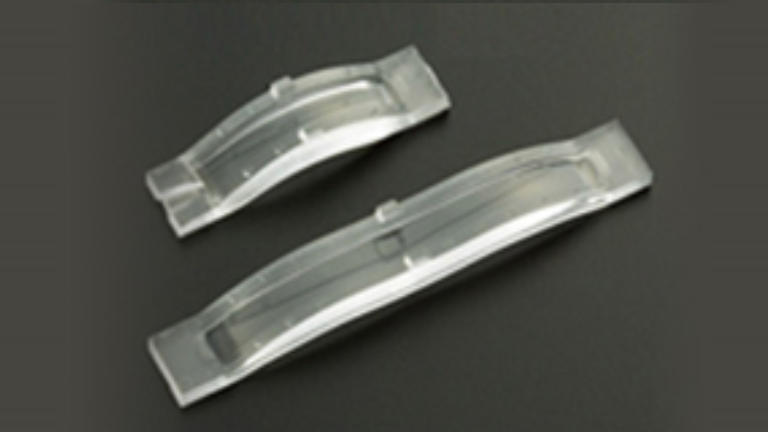
Toric lens (for laser printers, multifunction printers)